Skip to content
Claim this template

Free course template · Global

Radiation protection and MRI safety

A ready-made course, live deck and two surveys for radiographers and assistant practitioners. AhaSlides tracks progress, completion and scores for you. 45 minutes, 6 lessons. Last reviewed 21 October 2026; not legal advice.

Claim the templatePreview the courseDownload SCORM for your LMS

Free. No credit card. Edit everything.

Course outline at a glance

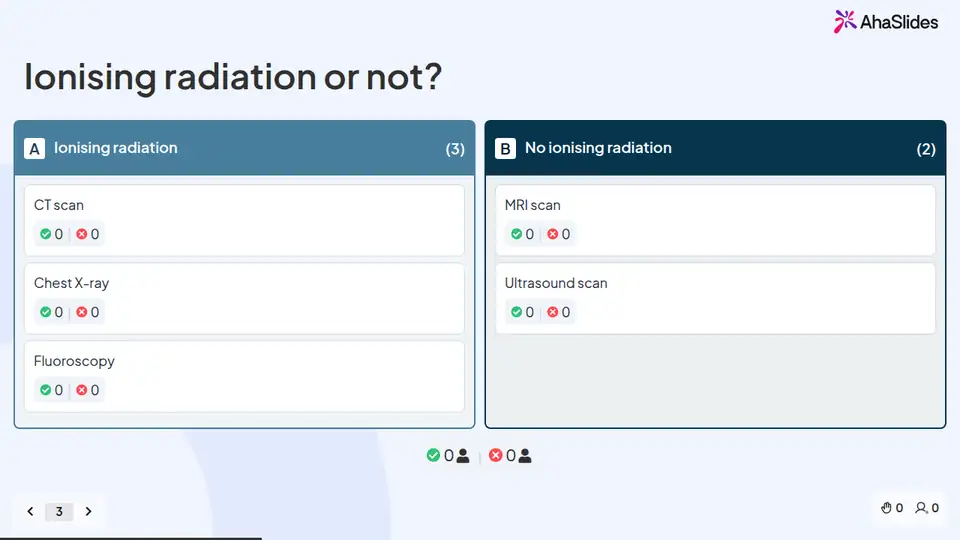
  • Explain which imaging uses ionising radiation and the three principles of protection: justification, optimisation (ALARA) and dose limits
  • Sorting activity
  • Quiz
  • Tabs

  • Describe who refers, justifies and carries out an exposure, and the checks before every exposure (identity, pregnancy, justification)
  • Process
  • Quiz
  • Step-by-step
  • Scenario

  • Use time, distance and shielding, wear protective equipment and a dosimeter correctly, and follow local rules
  • Flashcards
  • Quiz
  • Scenario

  • Keep the MR controlled access area safe: screen everyone, check MR labels and know the emergency rules
  • Flashcards
  • Quiz
  • Accordion
  • Tabs
  • Sorting activity
  • Scenario

  • Recognise and report radiation and MRI incidents and near misses through the right routes
  • Sorting activity
  • Quiz
  • Tabs

  • Final assessment
  • Completion
  • Quiz

Try some questions from the course

Question 1 of 3

Which of these scans does not use ionising radiation?


MRI uses a strong magnet and radio waves, not ionising radiation. CT, fluoroscopy and plain X-rays all use X-rays.

Lesson 1, Ionising radiation basics and ALARA, teaches this. See the outline

Question 2 of 3

Under IR(ME)R 2017, who decides whether an exposure is justified?


The practitioner is responsible for justification. The referrer supplies the medical information, and the operator carries out the practical parts.

Lesson 2, Justification and referral rules, teaches this. See the outline

Question 3 of 3

During fluoroscopy, where should you stand if you must stay near the patient?


Scatter is highest on the tube side. Standing on the detector side, with shielding, lowers your dose.

Lesson 3, Protecting staff and patients, teaches this. See the outline

Learners earn a certificate

Your organisation

Certificate of completion

This certifies that

Alex Morgan

has completed

Radiation protection and MRI safety

Completed on12 October 2026
Sample certificate with a placeholder learner name.

Style 1 of 6: Coral geometric

Everyone who finishes gets a certificate with their name, the course title and the completion date. Add your own logo, colours and signer.

Three pieces that work together

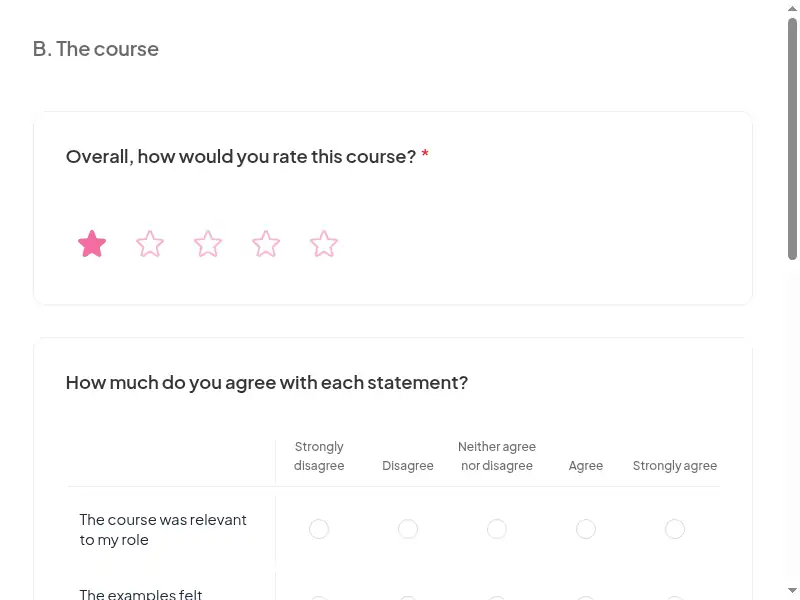
Learners prepare on their own, you answer questions live, and the surveys tell you what stuck. 16 fields to fill in with your own policy, contacts and locations; each one is highlighted inside the course.
Claim the template
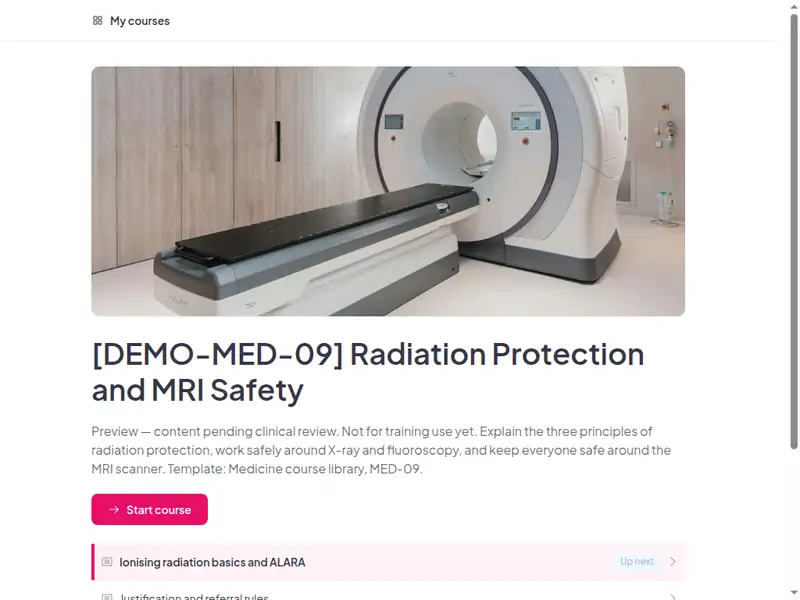
The Radiation protection and MRI safety course as a learner first sees it

Completion is tracked for you

Learners sign in to take the course, so every start, finish and score is recorded in AhaSlides. No spreadsheet to keep.

  • Who has finished

    See who has not started, who is in progress and who has completed the course.

  • Every score

    Each learner's answers to the quizzes and activities in the course.

  • What landed

    Survey results show what people took away, and the 30-day check-in shows whether they use it.

Claim the template

6 lessons, about 45 minutes

What learners can do at the end of each lesson. Minutes are an estimate.

  • Lesson 1: Ionising radiation basics and ALARA · 8 min

    Explain which imaging uses ionising radiation and the three principles of protection: justification, optimisation (ALARA) and dose limits.

  • Lesson 2: Justification and referral rules · 8 min

    Describe who refers, justifies and carries out an exposure, and the checks before every exposure (identity, pregnancy, justification).

  • Lesson 3: Protecting staff and patients · 8 min

    Use time, distance and shielding, wear protective equipment and a dosimeter correctly, and follow local rules.

  • Lesson 4: MRI zones and screening · 11 min

    Keep the MR controlled access area safe: screen everyone, check MR labels and know the emergency rules.

  • Lesson 5: Incident reporting · 5 min

    Recognise and report radiation and MRI incidents and near misses through the right routes.

  • Lesson 6: Final assessment · 5 min

    Final assessment · Completion

Claim the template

Common questions

Yes. The course, the live deck and both surveys are free. Claiming the template into your AhaSlides account is free too.

Yes. The course is self-paced and online, and the live deck lets you add a live session in the room or online.

At induction to imaging, theatre or MRI work, then refreshed at the interval your local rules set (organisation policy).

Radiographers and assistant practitioners, theatre and cardiac-catheter-lab staff who work with fluoroscopy, MRI staff, porters, nurses and other staff who enter imaging areas.

Record completion in your own LMS or record system, so you can show who finished the course and when.

Yes, everything. Change the wording, swap scenarios for ones from your workplace, add your logo, or remove parts that don't apply.

Your own details, each highlighted inside the course:
  • Where staff find the local rules for each X-ray area
  • Named supervisor for each area
  • Radiation protection adviser
  • Who is entitled to act as referrer, practitioner and operator
  • Pregnancy and breastfeeding enquiry procedure, age range and wording
  • Dosimeter wear position, swap dates, investigation levels
  • Controlled access area map, zone signs, screening forms and who may screen
  • MR responsible person and MR safety expert contacts
  • MRI resuscitation, fire, quench and evacuation procedures and drill dates
  • Local incident reporting system
  • The enforcing authority for IR
  • Imaging practice educator or radiation protection supervisor
  • LMS or record system
  • Live session URL
  • Course URL
Then edit anything else you like: wording, scenarios, your logo.
Visit the help centre (opens in a new tab)