


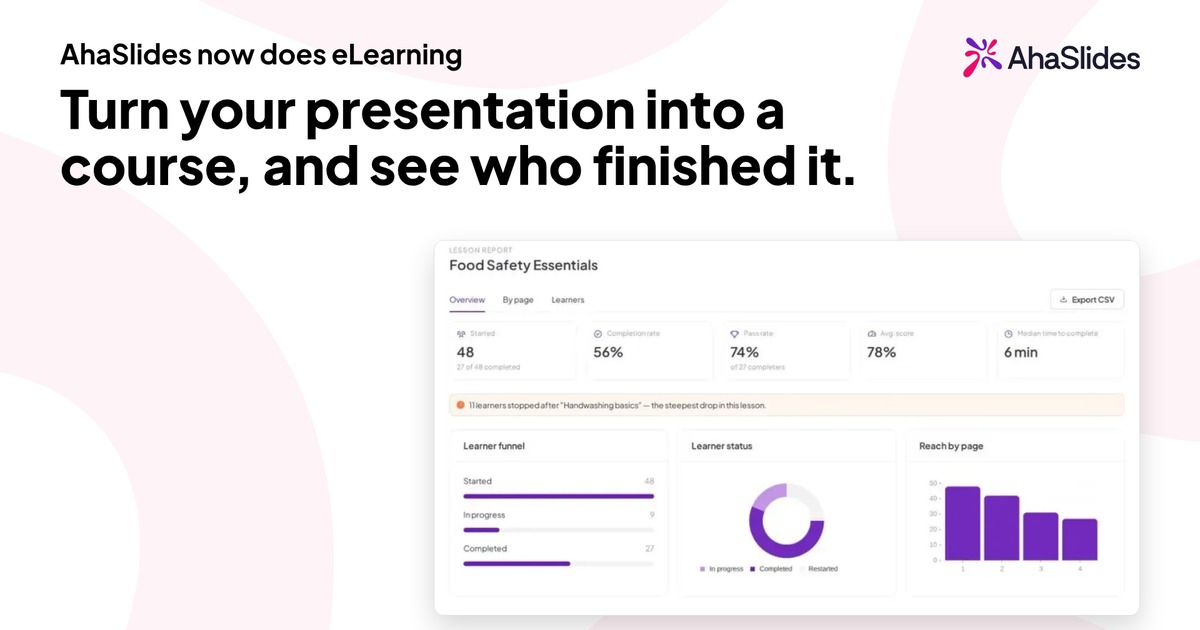
You have a topic your team needs to learn, a deck you have already presented twice, and no way to make sure everyone sees it. A live session reaches the people who could attend that day. A self-paced training course reaches everyone, at whatever time suits them, and shows you who finished.
This guide walks through how to create an online training course in AhaSlides, from an empty page or from slides you already have. It is written for trainers, L&D and HR teams who want to build a course themselves, without an authoring-tool project or a developer.
What is an online training course?
An online training course is a set of lessons that people work through on their own, at their own pace, usually to learn one job skill or one body of knowledge. Each lesson explains something, then checks that it landed. That is the difference between a course and a recorded presentation: the learner does things, and you can see what they did.
In AhaSlides, a course is built from aulas. Each lesson is made of páginas, and each page is made of blocos: text, images, video, lists, flashcards, knowledge checks and sorting activities. Learners open one link, sign in or create an account, and work through it. You then see their progress and results.
Before you build: three decisions that save rework
Spend ten minutes on these before you open the editor.
- Dê um nome ao resultado. Finish the sentence “After this course, a learner can…”. A course called “Food safety” is a topic. “Store, label and date raw ingredients correctly” is an outcome you can build lessons and questions around.
- Decide who takes it and how they get in. A course for every new hire might just be a link in a welcome email. A compliance course for one department needs a named list of people.
- Decide what counts as finished. Opening every lesson is the minimum. You may also want a minimum share of correct answers or a minimum time spent. You set this in step 4.
How to create an online training course
1. Start from what you already have
You can start three ways.
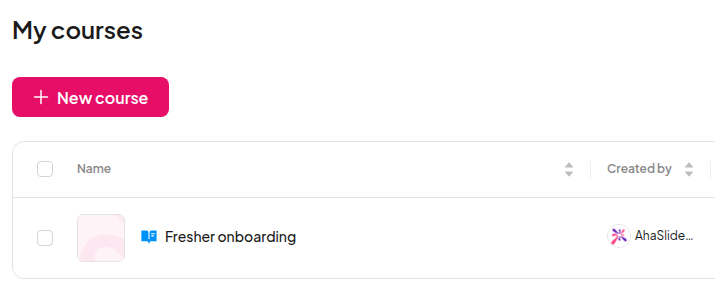
- From a blank course. Abra Meus arquivos, clique em Crie um novo e escolha Para. Replace “Untitled course” with your own title and add a short description, which learners see on the course page.
- From a prompt or a file. Clique AI in the course editor and describe what you want, or upload a file. The AI assistant adds and edits lessons in the course you have open.
- From a presentation. Open an existing presentation, use the menu next to its name and choose Turn into a course. AhaSlides creates a new draft course and the AI assistant converts your slides into it. Read the result before you publish: it is a head start, not a finished course.
If you are not sure where to begin, the presentation route is the quickest, because the structure and most of the wording already exist.
2. Break the content into lessons and pages
Your new course starts with a Primeira lição. Clique Adicionar lição for each further topic and drag lessons into the order learners should take them.
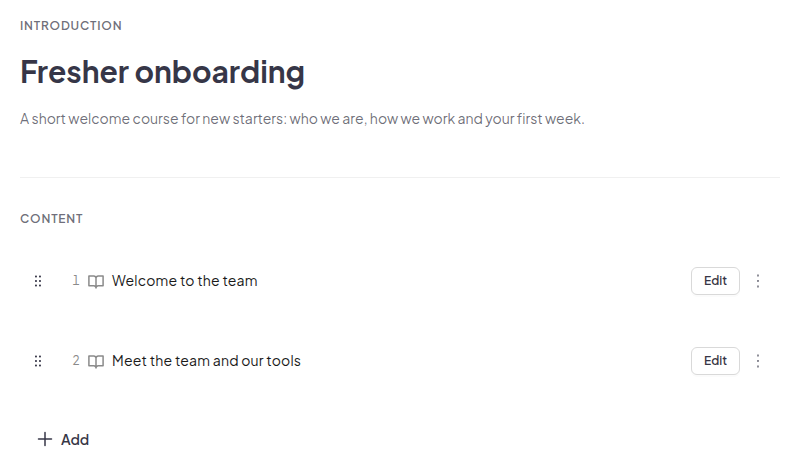
Inside a lesson, work in pages. A page should teach one idea. If a page needs a long scroll, split it. Short pages make progress visible to the learner and make the drop-off view in your report more useful later, because you can see exactly where people stopped.
A practical shape for most training courses:
- One lesson per outcome, not per topic.
- Three to six pages per lesson.
- A short check at the end of each lesson, so learners find gaps before you do.
3. Build pages from blocks, and add checks
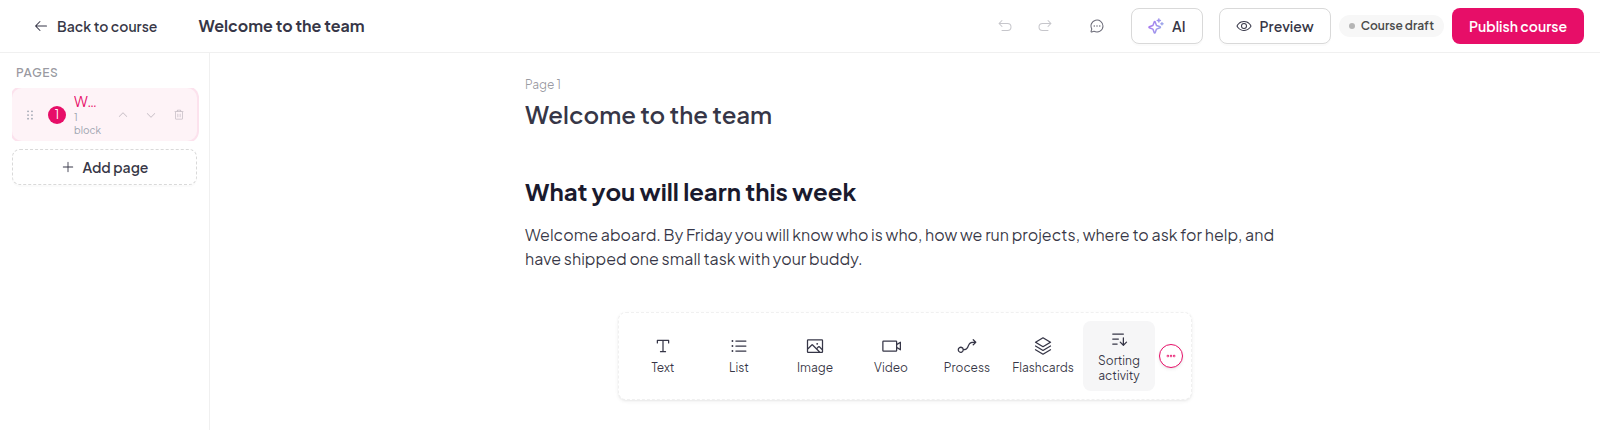
Each page holds blocks. Pick a block type from the bar under your content, or click Adicionar bloco and search. The block families include:
| Block family | O que você pode adicionar |
|---|---|
| Text and list | Paragraphs, headings, bulleted, numbered or checkbox lists |
| Image, gallery and multimedia | Images, video, audio, attachments and embeds |
| Interativo | Flashcards, sorting activities, scenarios, reveal lists and labelled graphics |
| Verificação de conhecimento | Multiple choice, multiple response, fill in the blank and matching |
| de cores | Bar, line or pie charts |
Mix passive and active blocks. A page of text followed by a knowledge check works better than three pages of text followed by a long quiz. Flashcards suit vocabulary and definitions, a sorting activity suits “which of these is a safe practice” decisions, and a scenario suits judgement calls. Give every image alt text so learners who cannot see it still understand the point.
Changes save as you work, and the editor shows Salvo when everything is up to date.
4. Set what counts as finished
Abra Configurações do curso. No Realização tab, “All lessons finished” is always on. You can add two more requirements:
- Minimum correct answers: the percentage of answered knowledge checks a learner must get right, from 0 to 100.
- Minimum learning time: the minutes a learner must spend in the course. Time adds up across visits, and idle time or time with the tab hidden is not counted.
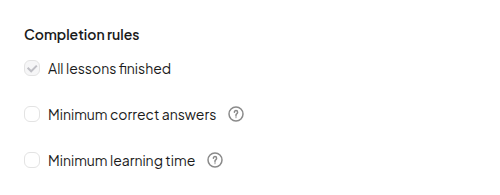
Learners see each requirement and their progress against it while they study, so there are no surprises at the end. On the Geral tab you can also add a thumbnail, a 16:9 image of at least 1280 x 720 px, which shows on your course cards.
5. Preview, publish and share one link
Clique Pré-visualização to see the course as learners will, and switch between desktop, tablet and phone views. When you are happy, click Publicar, escolha Get learner link and publish. Copy the link and send it.
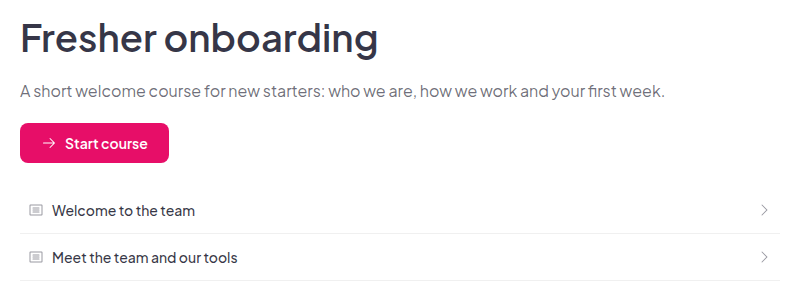
You choose who can open it:
- Alguém tem o link? Learners sign in or create an account first, so their progress is saved to their account.
- Assigned learners only. Only people you assign can take it.
Once the course is live you can keep editing it, and learners see your changes without you publishing again. Learners find every course they are enrolled in on the learner portal at learn.ahaslides.com, with a progress bar and a status of Não foi iniciado, Em andamento or Efetuado em cada um.
6. Manage who takes the course
For a course aimed at named people, open Gerenciar from the share window. You can:
- Add participants um por um ou import them from a CSV file, and export the list later.
- Open a learner profile to see their details, assigned courses and progress in each.
- Adicionar campos personalizados, such as department or position, to use in imports.
One thing to plan for: assigning a course does not send an invitation email. Send the link to your learners yourself, and say what you expect them to do.
7. Read the report and improve the course
Clique Relatório on a published course. It has three tabs:
- Visão geral: participants, completion rate, learning hours and median time to complete.
- By lesson: completion and drop-off for each lesson and page, plus how many learners got each question right.
- Aprendizes: everyone taking the course and their completion status. Click a learner to open a full activity record.
The By lesson view is where a course gets better. If a third of your learners stop on the same page, rewrite that page before you blame the learners. You can export the data as a CSV.
You can also invite colleagues to build or review the course with you. Add them as collaborators with Pode editar or Pode ver.
How to turn a PowerPoint into a training course
Most training starts life as a deck. If yours does, you do not need to rebuild it.
- Bring the deck into AhaSlides. Importe o seu
.pptxArquivo. Veja o guide to importing a PowerPoint or PDF file. - Turn it into a course. Once the deck is in AhaSlides as a presentation, open the menu next to its name and choose Turn into a course. The AI assistant converts your slides into lessons.
- Edit the draft. Slides written to be talked over often hold a headline and a picture, and the explanation lived in your voice. Add the missing explanation to each page, then add a knowledge check after each section.
- Publique e compartilhe. Follow steps 4 to 6 above.
Turn your presentation into a course, and see who finished it.
Self-paced training: when it works and when it does not
Self-paced training suits content that is the same for everyone and that people need to be able to revisit: onboarding basics, product knowledge, policies, safety procedures, tool walkthroughs. It saves live time for what a course cannot do.
It suits less well when the goal is discussion, practice with feedback or changing attitudes. For those, keep a live session and use the course as preparation before it or reinforcement after it. Our guide to treinamento virtual covers the live side.
Common mistakes when building a training course
- Starting with slides, not outcomes. A course that converts every slide into a page tends to copy the deck’s gaps. Write the outcomes first.
- Testing only at the end. A single quiz after an hour of content shows the problem too late. Check after each lesson.
- Setting the bar without testing it. Preview the course yourself and answer the checks, then set the minimum correct-answer rate.
- Forgetting the invitation. Assigned learners do not get an email. Send the link.
- Never opening the report. Look at By lesson after the first ten learners, and again after you edit.
Perguntas que as pessoas fazem
Do learners need an account?Yes. Opening a course link asks learners to sign in or create an account first, so their progress is saved.
Can I limit a course to certain people?sim. Escolher Assigned learners only, then assign the course to participants.
Can colleagues help me build it?Yes. Invite them as collaborators with Pode editar or Pode ver. Only the course owner publishes or unpublishes.
What happens to progress if I unpublish a course?It is kept. Learners carry on from where they stopped once you publish again.
Where do learners find their courses?On the learner portal at learn.ahaslides.com, under Meus cursos.
Build your first course
Pick one outcome and one deck you already use, and turn it into a three-lesson course this week. Learn more on the AhaSlides course creator page, Leia o step-by-step help article, ou log in or create an account on AhaSlides para começar a construir.