
Bagama't walang built-in na word cloud feature ang Excel, maaari kang lumikha Excel word clouds madaling gamitin ang alinman sa 3 pamamaraan sa ibaba:
Paraan 1: Gumamit ng Excel add-in
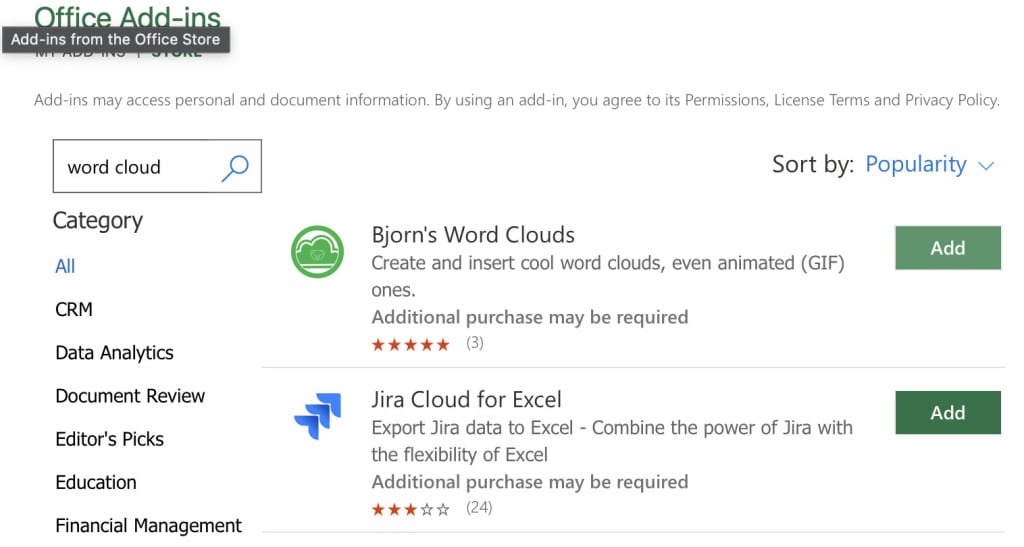
Ang pinaka pinagsamang paraan ay ang paggamit ng add-in, na nagbibigay-daan sa iyong lumikha ng word cloud nang direkta sa loob ng iyong Excel spreadsheet. Ang isang sikat at libreng opsyon ay Bjorn Word Cloud. Maaari kang maghanap ng iba pang word cloud tool sa add-in na library.
Hakbang 1: Ihanda ang iyong data
- Ilagay ang lahat ng text na gusto mong suriin sa isang column. Ang bawat cell ay maaaring maglaman ng isa o maraming salita.
Hakbang 2: I-install ang add-in na "Bjorn Word Cloud".
- Pumunta sa Isingit tab sa laso.
- Mag-click sa Kumuha ng mga Add-in.
- Sa Office Add-in store, hanapin ang "Bjorn Word Cloud".
- I-click ang Idagdag button sa tabi ng add-in ng Pro Word Cloud.
Hakbang 3: Bumuo ng salitang ulap
- Pumunta sa Isingit tab at mag-click sa Aking Mga Add-in.
- piliin Bjorn Word Cloud upang buksan ang panel nito sa kanang bahagi ng iyong screen.
- Awtomatikong makikita ng add-in ang iyong napiling hanay ng teksto. I-click ang Gumawa ng word cloud button.
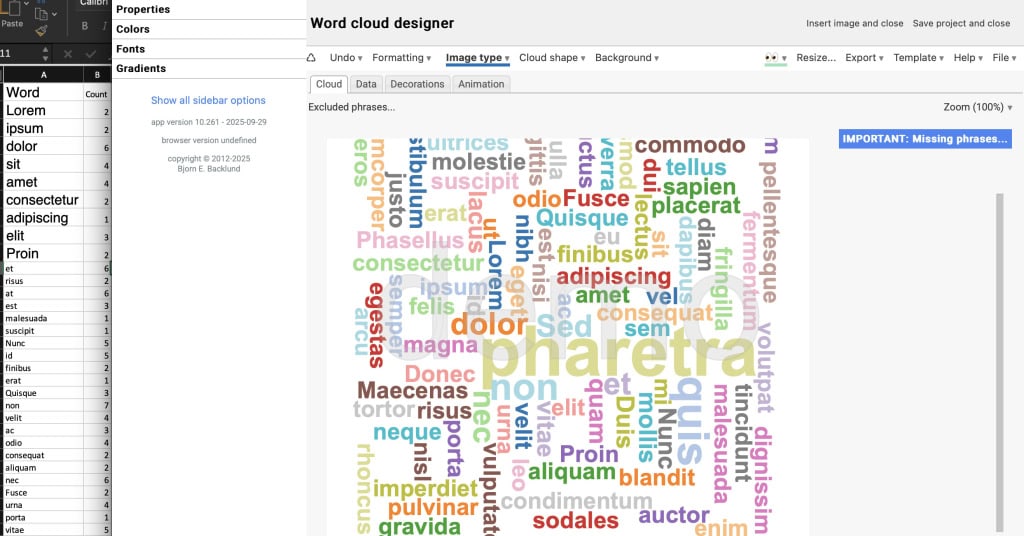
Hakbang 4: I-customize at i-save
- Ang add-in ay nagbibigay ng ilang mga opsyon upang i-customize ang font, mga kulay, layout (pahalang, patayo, atbp.), at case ng iyong mga salita.
- Maaari mo ring isaayos ang bilang ng mga salitang ipinapakita at i-filter ang mga karaniwang "stop words" (tulad ng 'the', 'and', 'a').
- Lalabas ang salitang cloud sa panel. Maaari mo itong i-export bilang isang SVG, GIF, o isang webpage.
Paraan 2: Gumamit ng isang libreng online na word cloud generator
Kung ayaw mong mag-install ng add-in, maaari kang gumamit ng libreng online na tool. Ang pamamaraang ito ay madalas na nagbibigay ng mas advanced na mga pagpipilian sa pagpapasadya.
Hakbang 1: Ihanda at kopyahin ang iyong data sa Excel
- Ayusin ang lahat ng iyong teksto sa iisang column.
- I-highlight ang buong column at kopyahin ito sa iyong clipboard (Ctrl+C).
Hakbang 2: Gumamit ng online na tool
- Mag-navigate sa isang libreng word cloud generator website, gaya ng AhaSlides word cloud generator, o https://www.google.com/search?q=FreeWordCloud.com.
- Maghanap ng opsyong "Import" o "I-paste ang Teksto".
- I-paste ang iyong kinopyang text mula sa Excel sa text box na ibinigay.

Hakbang 3: Bumuo, i-customize, at i-download
- I-click ang button na "Bumuo" o "I-visualize" para likhain ang salitang cloud.
- Gamitin ang mga tool ng website upang i-customize ang mga font, hugis, kulay, at oryentasyon ng salita.
- Kapag nasiyahan ka na, i-download ang salitang cloud bilang isang imahe (karaniwan ay PNG o JPG).
Paraan 3: Gamitin ang Power BI
Kung mayroon kang Power BI na handa sa iyong desktop, maaaring ito ay isang mahusay ngunit mas advanced na paraan upang bumuo ng Excel word clouds kapag kailangan mong magproseso ng maraming salita.
Hakbang 1: Ihanda ang iyong data sa Excel
Una, kailangan mong ayusin nang maayos ang iyong data ng teksto sa isang Excel sheet. Ang perpektong format ay isang column kung saan ang bawat cell ay naglalaman ng mga salita o parirala na gusto mong suriin.
- Gumawa ng Column: Ilagay ang lahat ng iyong teksto sa iisang column (hal., Column A).
- Format bilang isang Talahanayan: Piliin ang iyong data at pindutin Ctrl + T. Pino-format ito bilang isang opisyal na Excel Table, na mas madaling basahin ng Power BI. Bigyan ng malinaw na pangalan ang talahanayan (hal., "WordData").
- I-save ang iyong Excel file.
Hakbang 2: I-import ang iyong Excel file sa Power BI
Susunod, buksan ang Power BI Desktop (na isang libreng pag-download mula sa microsoft) upang kumonekta sa iyong Excel file.
- Buksan ang Power BI.
- Sa Home tab, mag-click Kumuha ng Data at piliin ang Excel Workbook.
- Hanapin at buksan ang Excel file na kaka-save mo lang.
- Sa Navigator window na lalabas, lagyan ng check ang kahon sa tabi ng pangalan ng iyong talahanayan ("WordData").
- I-click ang Load. Lalabas na ngayon ang iyong data sa data pane sa kanang bahagi ng Power BI window.
Hakbang 3: Gumawa at i-configure ang salitang cloud
Ngayon ay maaari kang bumuo ng aktwal na visual.
- Idagdag ang visual: Sa Visualisasyon pane, hanapin at i-click ang Word Cloud icon. May lalabas na blangkong template sa canvas ng iyong ulat.
- Idagdag ang iyong data: Mula sa data pane, i-drag ang iyong text column at i-drop ito sa kategorya field sa Visualizations pane.
- Bumuo: Awtomatikong bibilangin ng Power BI ang dalas ng bawat salita at bubuo ng salitang cloud. Kung mas madalas ang isang salita, mas malaki ang lilitaw nito.
Tips
- Linisin muna ang iyong data: alisin ang mga stop na salita (tulad ng "at", "ang", "ay"), bantas, at mga duplicate para sa mas malinaw na mga resulta.
- Kung ang iyong text ay nasa maraming cell, gumamit ng mga formula tulad ng
=TEXTJOIN(" ",TRUE,A1:A50)upang pagsamahin ang lahat sa isang cell. - Ang mga word cloud ay mahusay para sa visualization, ngunit hindi nagpapakita ng eksaktong bilang ng dalas—isipin ang pagpapares sa kanila ng pivot table o bar chart para sa mas malalim na pagsusuri.