
While Excel doesn't have a built-in word cloud feature, you can create Excel word clouds easily using any of the 3 techniques below:
Method 1: Use an Excel add-in
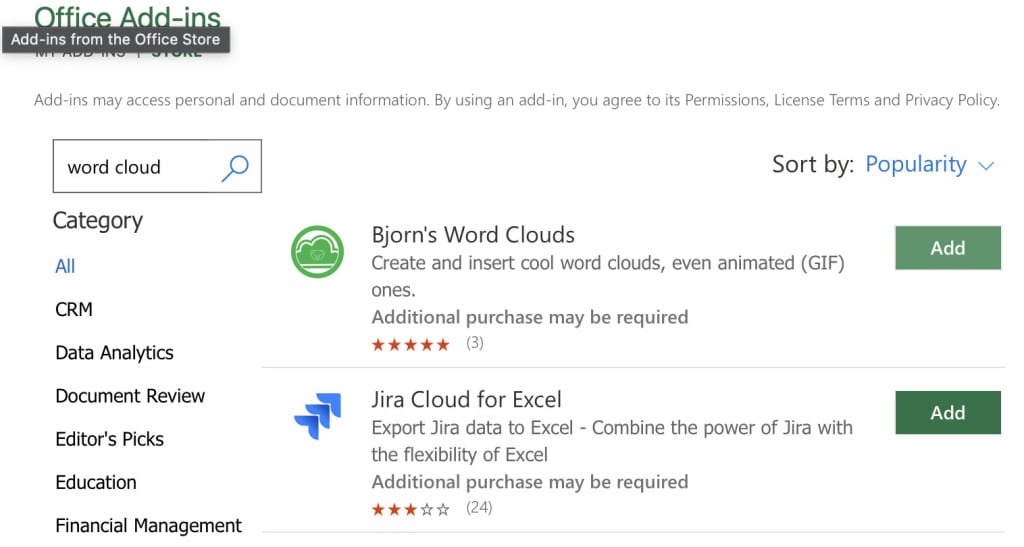
The most integrated method is to use an add-in, which allows you to create a word cloud directly within your Excel spreadsheet. A popular and free option is Bjorn Word Cloud. You can search for other word cloud tools in the add-in library.
Step 1: Prepare your data
- Place all the text you want to analyse into a single column. Each cell can contain one or multiple words.
Step 2: Install the "Bjorn Word Cloud" add-in
- Go to the Insert tab on the ribbon.
- Click on Get Add-ins.
- In the Office Add-ins store, search for "Bjorn Word Cloud".
- Click the Add button next to the Pro Word Cloud add-in.
Step 3: Generate the word cloud
- Go to the Insert tab and click on My Add-ins.
- Select Bjorn Word Cloud to open its panel on the right side of your screen.
- The add-in will automatically detect your selected text range. Click the Create a word cloud button.
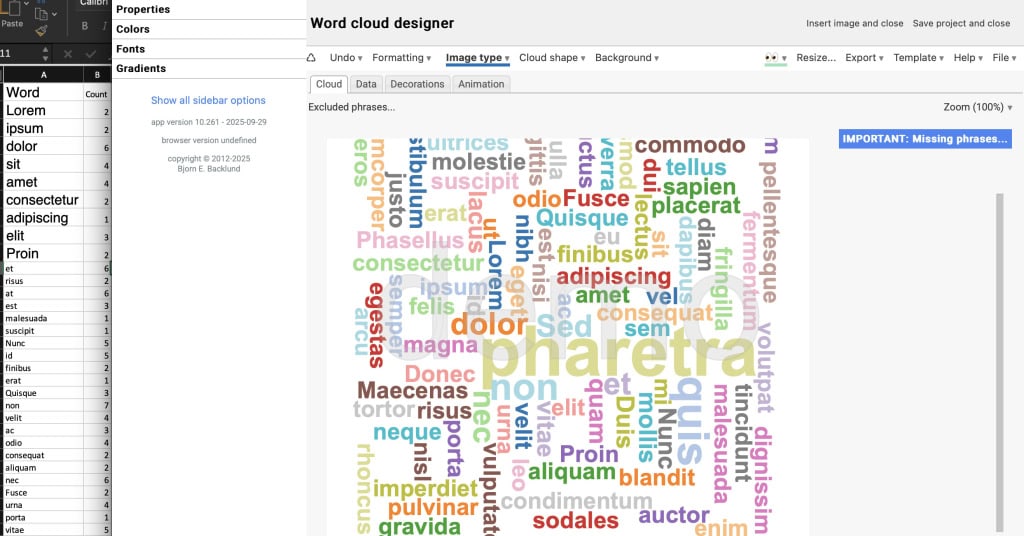
Step 4: Customise and save
- The add-in provides several options to customise the font, colours, layout (horizontal, vertical, etc.), and case of your words.
- You can also adjust the number of words displayed and filter out common "stop words" (like 'the', 'and', 'a').
- The word cloud will appear in the panel. You can export it as an SVG, GIF, or a webpage.
Method 2: Use a free online word cloud generator
If you don't want to install an add-in, you can use a free online tool. This method often provides more advanced customisation options.
Step 1: Prepare and copy your data in Excel
- Organise all your text into a single column.
- Highlight the entire column and copy it to your clipboard (Ctrl+C).
Step 2: Use an online tool
- Navigate to a free word cloud generator website, such as AhaSlides word cloud generator, or https://www.google.com/search?q=FreeWordCloud.com.
- Look for an "Import" or "Paste Text" option.
- Paste your copied text from Excel into the text box provided.

Step 3: Generate, customise, and download
- Click the "Generate" or "Visualise" button to create the word cloud.
- Use the website's tools to customise fonts, shapes, colours, and word orientation.
- Once you are satisfied, download the word cloud as an image (usually PNG or JPG).
Method 3: Use Power BI
If you have Power BI ready on your desktop, this could be a good but more advanced way to generate Excel word clouds when you have to process a large amount of words.
Step 1: Prepare your data in Excel
First, you need to organise your text data properly in an Excel sheet. The ideal format is a single column where each cell contains the words or phrases you want to analyse.
- Create a Column: Put all your text into a single column (e.g., Column A).
- Format as a Table: Select your data and press Ctrl+T. This formats it as an official Excel Table, which Power BI reads more easily. Give the table a clear name (e.g., "WordData").
- Save your Excel file.
Step 2: Import your Excel file into Power BI
Next, open Power BI Desktop (which is a free download from Microsoft) to connect to your Excel file.
- Open Power BI.
- On the Home tab, click Get Data and select Excel Workbook.
- Find and open the Excel file you just saved.
- In the Navigator window that appears, check the box next to your table's name ("WordData").
- Click Load. Your data will now appear in the Data pane on the right side of the Power BI window.
Step 3: Create and configure the word cloud
Now you can build the actual visual.
- Add the visual: In the Visualisations pane, find and click on the Word Cloud icon. A blank template will appear on your report canvas.
- Add your data: From the Data pane, drag your text column and drop it into the Category field in the Visualisations pane.
- Generate: Power BI will automatically count the frequency of each word and generate the word cloud. The more frequent a word is, the larger it will appear.
Tips
- Clean your data first: remove stop words (like “and”, “the”, “is”), punctuation, and duplicates for clearer results.
- If your text is in multiple cells, use formulas like
=TEXTJOIN(" ",TRUE,A1:A50)to combine everything into one cell. - Word clouds are great for visualisation, but don’t show exact frequency counts—consider pairing them with a pivot table or bar chart for deeper analysis.