.webp)
A few facts have emerged since Zoom took over the virtual worlds of work and school. Here are two: you can't trust a bored Zoom attendee with a self-made background, and a bit of interactivity goes a long, long way.
The Zoom word cloud is one of the most efficient two-way tools to get your audience truly listening to what you have to say. It gets them engaged and it sets your virtual event apart from those drawing Zoom monologues we've all come to loathe.
Here are 4 steps to setting up your own word cloud on Zoom in under 5 minutes.
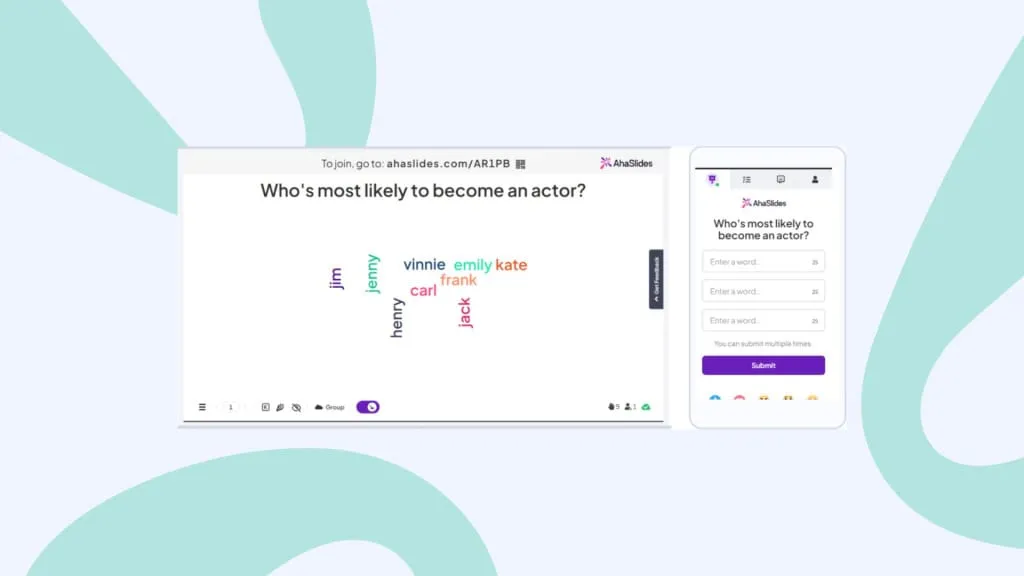
A live word cloud. Image courtesy of AhaSlides
What is a Zoom Word Cloud?
Simply put, a Zoom word cloud is an interactive word cloud that's shared over Zoom (or any other video-calling software) usually during a virtual meeting, webinar or online lesson.
We've specified interactive here because it's important to note that this is not just a static word cloud full of pre-filled words. This is a live, collaborative word cloud in which all of your Zoom buddies get to submit their own responses and watch them fly around on screen. The more an answer is submitted by your participants, the larger and more centrally it will appear in the word cloud.
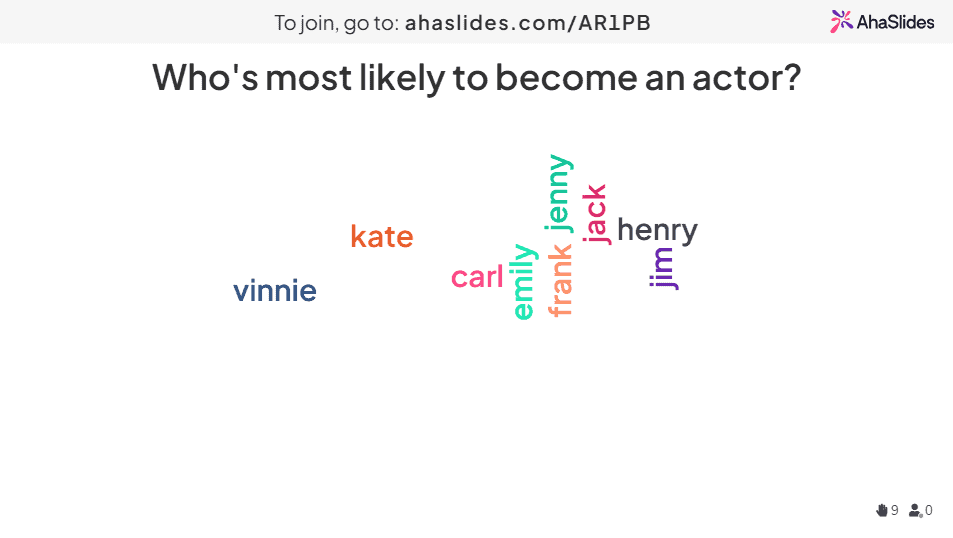
Something a bit like this 👇
Usually, a Zoom word cloud needs nothing more than a laptop for the presenter (that's you!), and a free account on word cloud software like AhaSlides. Your participants won't need anything other than their devices like laptops or phones to participate.
Here's how to get one set up in 5 minutes...
How to Run a Zoom Word Cloud for Free
Your Zoom attendees deserve a kick of interactive fun. Give it to them in 4 quick steps!
Step 1: Create a Word Cloud
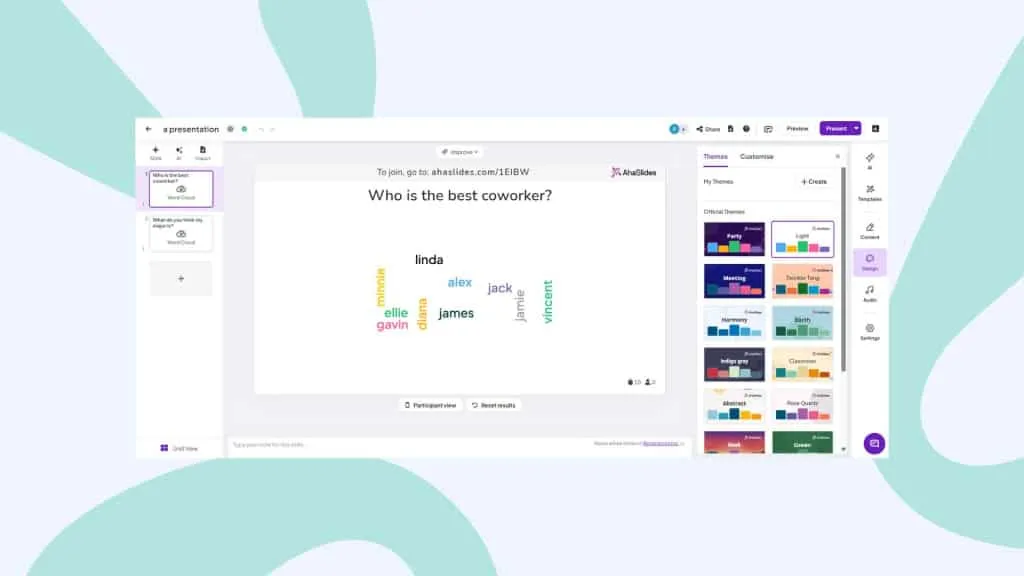
Sign up to AhaSlides for free and create a new presentation. On the presentation editor, you can select 'word cloud' as your slide type.
Once you've done this, all you have to do to create your Zoom word cloud is to enter the question you want to ask your audience. Here's an example 👇
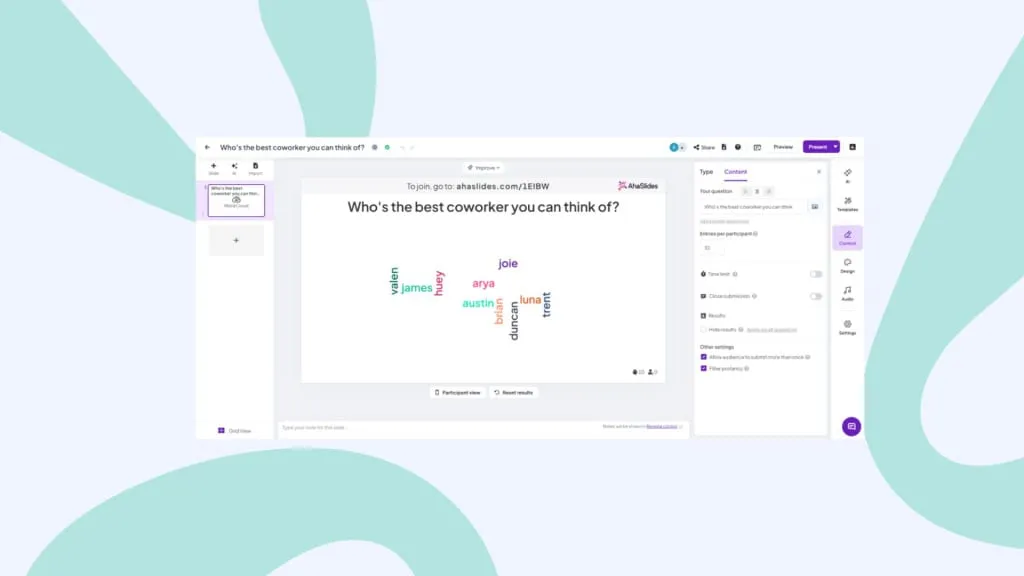
After that, you can change your cloud settings to your liking. Some things you can change are:
- Choose how many times a participant can answer.
- Reveal the word entries once everyone's answered.
- Block out profanities submitted by your audience.
- Apply a time limit for answering.
👊 Bonus: You can fully customise how your word cloud looks when you're presenting it on Zoom. In the 'Design' tab, you can change the theme, colours and background image.
Step #2: Test It
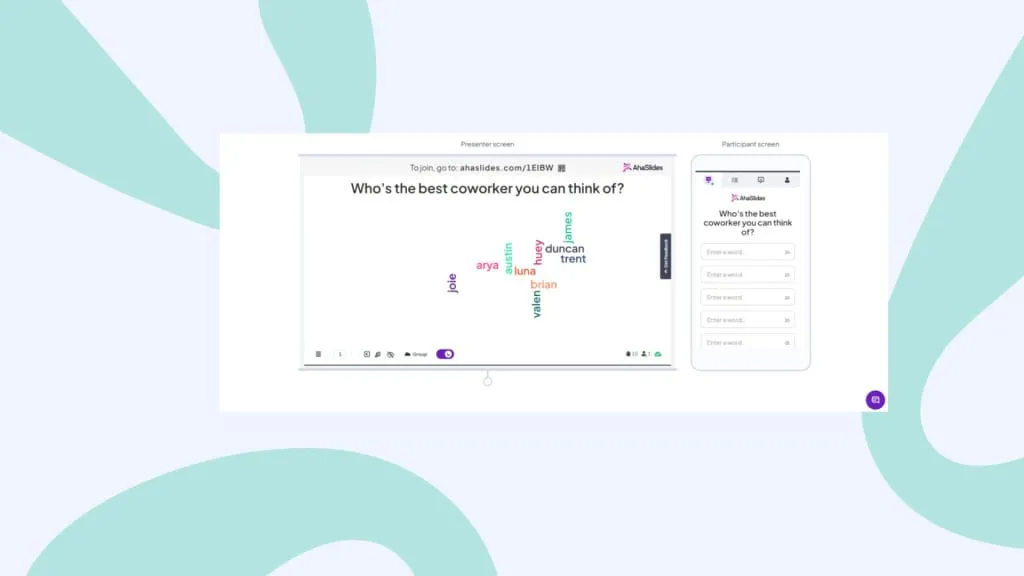
Just like that, your Zoom word cloud is fully set up. To see how it's all going to work for your virtual event, you can submit a test response using 'participant view'.
Click the 'Participant view' button under your slide. When the on-screen phone pops up, type in your response and hit 'submit'. There's the first entry into your word cloud. (Don't worry, it's a lot less underwhelming when you get more responses!)
💡 Remember: You'll have to erase this response from your word cloud before you use it over Zoom. To do this, simply click on 'Results' in the navigation bar, then select 'clear audience responses'.
Step #3: Use the AhaSlides Zoom Integration in your Zoom Meeting
So your word cloud is completed and is awaiting responses from your audience. Time to go get them!
Start your Zoom meeting and:
- Get the AhaSlides integration on the Zoom App Marketplace.
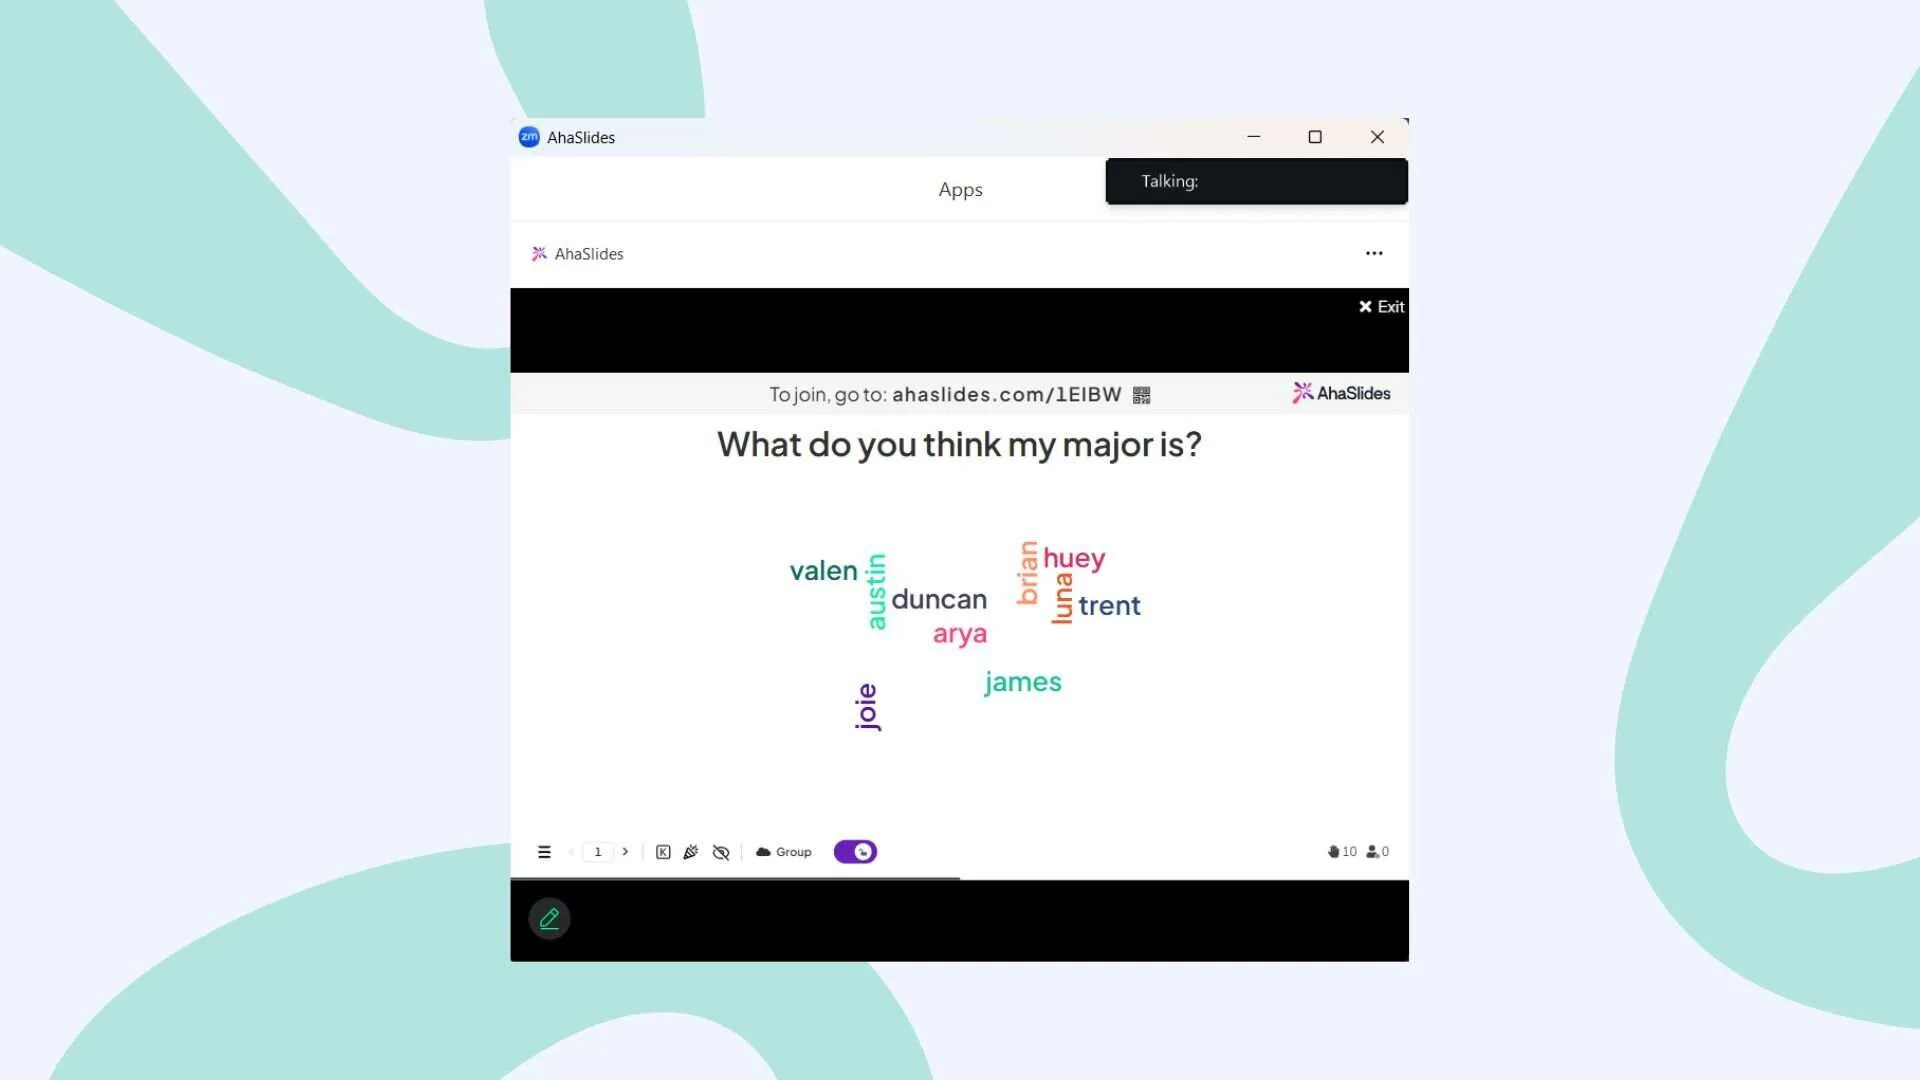
- Launch the Zoom app during your meeting and log into your AhaSlides account.
- Click on the word cloud presentation you want and start presenting it.
- The participants in your Zoom meeting will be automatically invited.
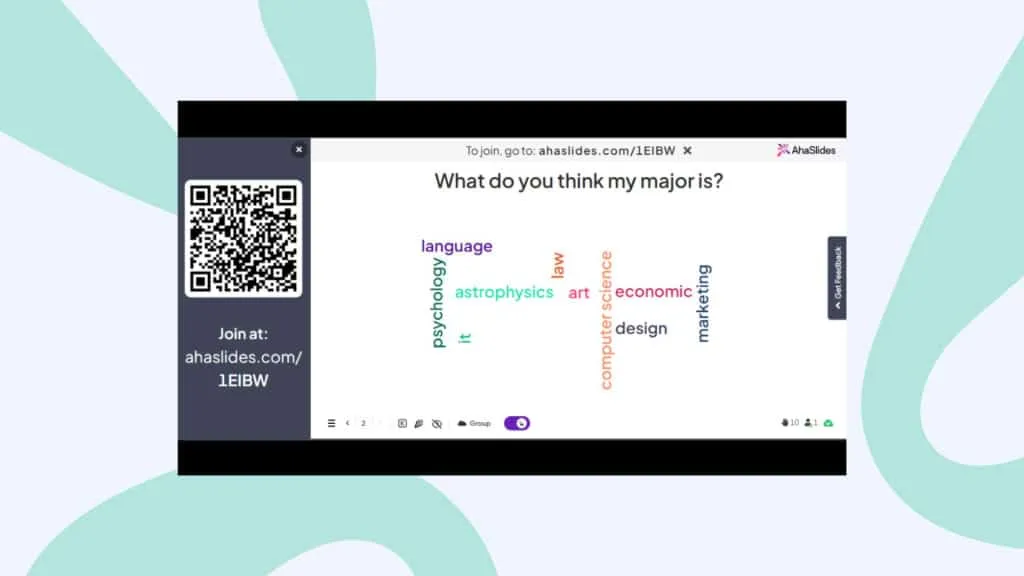
👊 Bonus: You can click the top of your word cloud to reveal a QR code. Participants can see this through screen share, so they just have to scan it with their phones to join immediately.
Step #4: Host your Zoom Word Cloud
By now, everyone should have joined your word cloud and should be ready to input their answers to your question. All they have to do is type out their answer using their phone and press 'submit'.
Once a participant submits their answer, it will appear on the word cloud. If there are too many words to look at, you could use AhaSlides smart word cloud grouping to automatically group similar responses. It will return a neat word collage that's pleasing to the eyes.
And that's it! You can get your word cloud up and engaging in no time at all, completely for free. Sign up to AhaSlides to get started!
Extra Features on AhaSlides Zoom Word Cloud
- Integrate with PowerPoint - Using PowerPoint for presentations? Make it interactive in seconds with AhaSlides' PowerPoint add-in. You don't need to fidget and switch between tabs to get everyone in the loop to collaborate on a live word cloud 🔥
- Add an image prompt - Ask a question based on an image. You can add an image prompt to your word cloud, which shows on your device and your audience's phones while they're answering. Try a question like 'Describe this image in one word'.
- Delete submissions - As we mentioned, you can block profanities in the settings, but if there are other words you'd rather not have showing, you can delete them by simply clicking on them once they appear.
- Add audio - This is a feature that you just won't find on other collaborative word clouds. You can add an audio track that plays both from your device and your audience's phones while you're presenting your word cloud.
- Export your responses - Take away the results of your Zoom word cloud either in an Excel sheet containing all of the responses, or in a set of JPG images so you can check back at a later date.
- Add more slides - AhaSlides has way more to offer than just a live word cloud. Just like the cloud, there are slides to help you create interactive polls, brainstorming sessions, Q&As, live quizzes and survey features.
Frequently Asked Questions
What is a Zoom word cloud?
Simply put, a Zoom word cloud is an interactive word cloud that's shared over Zoom (or any other video-calling software) usually during a virtual meeting, webinar or online lesson.
Why should you use a Zoom word cloud?
The Zoom word cloud is one of the most efficient two-way tools to get your audience truly listening to what you have to say. It gets them engaged and it sets your virtual event apart from those drawling Zoom monologues we've all come to loathe.
.webp)